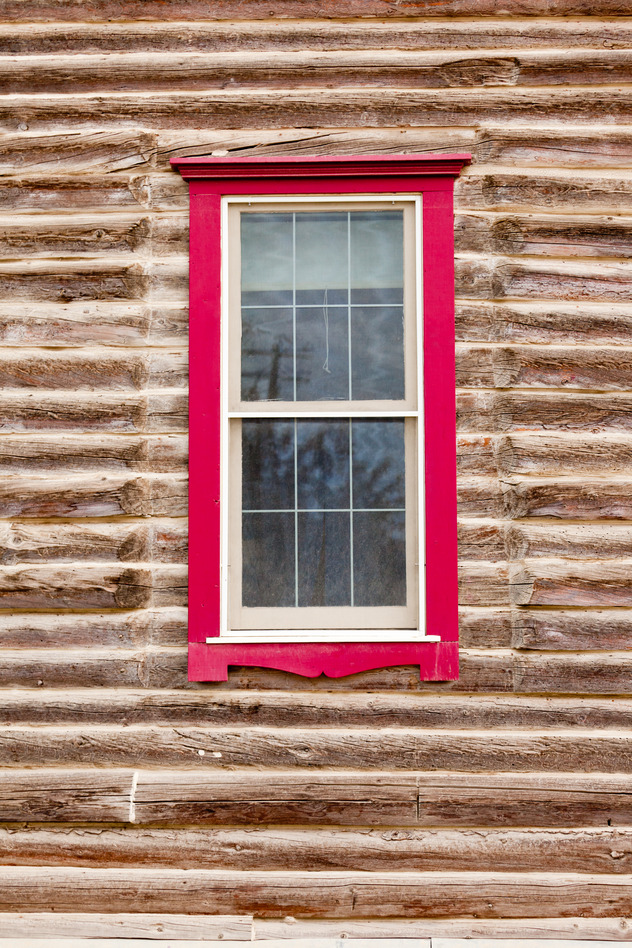
Proper antique sash windows are a timeless beauty! Any homeowner would be lucky to have them and we here at Sash Windows Brighton love everything about them (almost.) If you’ve got sash windows, especially in a Victorian house, you’ll find that they often need some TLC. If you’re sash windows are awkward to open, move or just won’t stay up, its likely that you’re looking at broken sash cords!
Sash Cords?
As sash windows open and close, you should be able to slide them within their frames and have them miraculously stay in whatever position you choose. This is due to four cords (typically) that run up each side of the window frame, over a pulley and connect to a counter weight. This is what makes the entire mechanism work. If one or more of them is broken, you end up with all sorts of difficulties when it comes to opening and closing your window.
How to fix it?
Follow our simple 8 step guide to replacing your broken sash cords! Remember, if in any doubt, just give our team at Sash Windows Brighton a call for all the sash expertise you’ll ever need!
Step One:
To replace the cords, we have to remove the window panel. Most ordinary sash windows are held in place by a lower wooden, decorative strip. You’ll need to split this wood to remove it using a hammer and chisel. It will need replacing!
Step Two:
Now it should be relatively straight forward to remove the window panel from the frame by disconnecting the cords from the weights.
Step Three:
Now to tackle the lower wooden panel. You’ll also need to disconnect this cord and then lower the counterweight inside the window frame. There are usually two pieces of wood either side of the window frame that cover the area containing the counterweights. You’ll need to remove these too!
* Note, all of the decorative strips at the bottom and sides of the window panel should be replaced if damaged during the removal process.
Step Four:
Lift out the counterweight, disconnect and remove the broken cord(s). You’ll need to attach your new cord by feeding it through the pulley and tying it to the counterweight which can then go back in the window.
Step Five:
Cut, fit and replace any wooden strips that were damaged when removing them.
Step Six:
Re-attach the wooden panels that cover the area where the counterweights to the pulley systems are.
Step Seven:
Almost there – put the window panel back in the frame by attaching the sash cords on each side of the panel.
Step Eight:
Replace the decorative strips, ensuring that any nails are hammered in below the wood surface.
* Tip! If you use polyfilla then this will preserve the look of your sash windows by stopping your nails from rusting and damaging the paintwork.
Step Nine:
Check that your sash windows are sliding with ease. If your job is satisfactory then you’re free to redecorate and your newly corded windows! (Remember to prime your windows first!)


Recent Comments